One of the most fashionable trends in progressive plant growing is growing plants in grow boxes – closed autonomous systems of a full cycle. A special grow tent for growing garden and berry crops at home can be purchased in stores.
It is quite possible to make a growbox with your own hands from materials available in everyday life. Something will have to be purchased, but the costs will be several times less than the purchase of a ready-made installation will cost.
The advantages of this type of cultivation are compactness, independence from the season and weather conditions, autonomy and secrecy. The harvest can be obtained quickly, without much physical effort and without the use of chemicals.
Using these step-by-step instructions, you can easily cope with the simple business of growing.
Growbox construction
So, literally “growbox” means “grow box”. We will build on this combination of words when creating the design of the future mini-greenhouse.
The dimensions (especially the height) depend on the plants to be planted. For greens, radishes, onions, a container with sides of 30 cm is enough. For root crops, flowers, you need a growbox up to half a meter high. If you want to grow tomatoes or cucumbers, you need a cabinet-sized grow box.
It is important that the green parts of the plants do not touch each other and in no case get a thermal burn from the lighting fixtures.
The main components of a grow box:
- Frame. It can be any box of a suitable size. From a computer system, a bedside table, a used refrigerator to a wardrobe, a pantry or an entire room.
- Reflective surface. The inner walls of the box must be painted white or lined with a special material.
- Lighting. As a rule, special growing lamps are used.
- Fan. It is needed to ensure the outflow of heated air. Ventilation openings are also required for oxygen supply.
- Climate control devices: thermometer, hygrometer.
- Accompanying equipment: time relay, heater, air humidifier, filter – if necessary.
Choice of materials
To make a grow box with your own hands you will need:
- Chipboard or OSB (new generation fiberboard).
- Fasteners – screws, staples, stapler, tape, glue.
- Paint, reflective film or foam foam.
- Lamps and electrical equipment for them.
- Cooler and carbon filter.
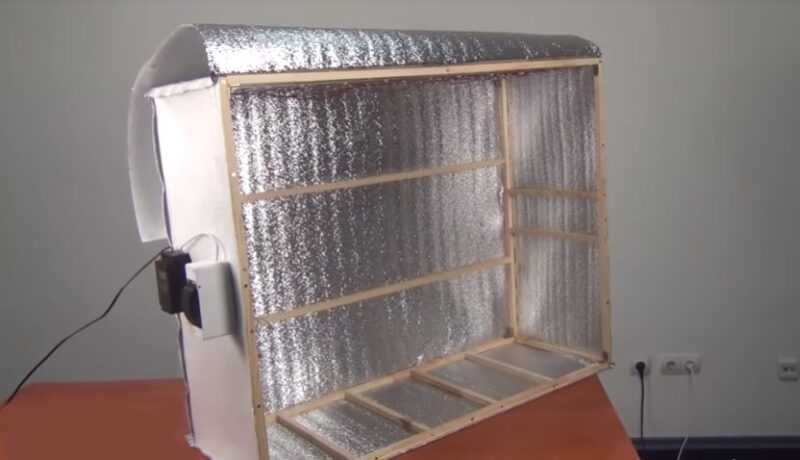
The first stage of the assembly will be the installation of the frame and the preparation of the internal surfaces. The growbox should be free of slits and allow outside light to pass through. Doors must close tightly.
The inner parts of the box must be painted with white matt paint. Glossy does not reflect light as well. When choosing a paint, you need to make sure that it does not emit toxic substances at elevated temperatures.
Penofol is a non-woven insulating and reflective material that is easy to use and helps to save up to 20% of electricity on lighting. It can be quickly reinforced with a construction stapler or double-sided tape. The joints are additionally reinforced with foil tape.
Installation of devices
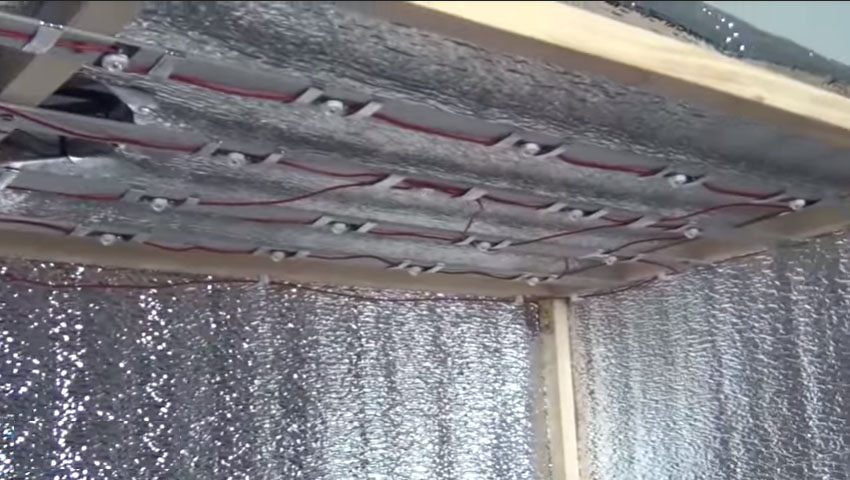
Holes are made in the upper part of the grow box for fixing a lamp and a fan.
The bottom of the cabinet is lined with waterproofing material to protect it from water that may spill during watering.
Holes are drilled along the lower perimeter for fresh air intake. Their total area should be equivalent to the fan hole.
For better noise insulation, rubber gaskets are placed in front of the fan mount. A charcoal filter is also often placed on the ventilation duct so that plant odors do not penetrate into the living space.
For large grow boxes, a corrugated tube is attached to the cooler, which is led out into the street. It turns out to be a real exhaust system.
Lighting
World
Is the first thing a grower should take care of.
A lamp is installed on the cover of the grow box. Most often, sodium gas-discharge tubular is used – DnaT. For a small volume, 100-200 W will be enough, for a cabinet 2 m high and 70-80 cm deep – 600 W.
Recently, more expensive, but economical in consumption, energy-saving LED complexes from several sources have been used.
Ventilation
Since heating the air in a small confined space cannot be avoided, use a ventilation system. The power of the cooler should completely renew the air in the growing chamber in 5 minutes.
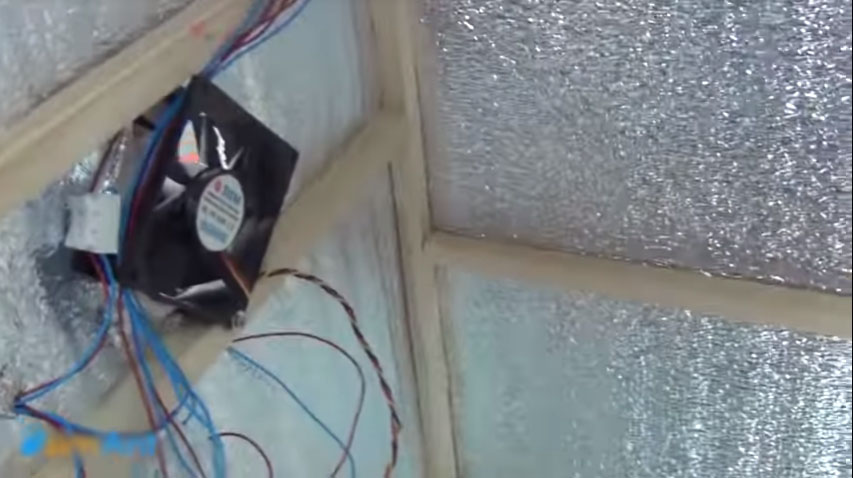
Considering that warm vapors rise upward, the fan is placed on the side wall at the top. The openings for air intake, on the contrary, are made along the lower perimeter of the growbox. This will cool the circulation faster.
Plants do not like extreme temperature changes. Therefore, if your mini-greenhouse is installed in an unheated room, the supply air must be heated first in winter.
If the room is hot in summer, ventilation will not make sense without additional cooling.
Humidifiers
Decrease temperature by 1-20You can turn on the humidifier. A simple bowl of water, installed inside the grow box, affects the regulation of humidity.
Plants need different moisture levels at different times. Seedlings feel good at 80-90% humidity, humidity in the region of 70% is suitable for the formation of greenery, and during flowering it is necessary to keep moisture no higher than 65%.
If the humidity conditions are violated in the structure, mold may appear, which will be very difficult to get rid of without disturbing the climatic balance.
Air humidity is measured using a hygrometer, which must be purchased and installed for constant monitoring. It should be borne in mind that lighting devices not only heat up, but also dry the air. It is likely that during the day you will not be able to do without hydration.
Growbox automation
Few will be able to control the process constantly: turn on the lighting during the day and turn off at night, control the temperature and humidity. Therefore, you should think about purchasing an automatic timer that will regulate the processes independently and support the program with the specified parameters.
We hope that our advice has strengthened your desire to do home growing and make a DIY growbox. Before you start looking for ready-made systems, try it yourself – everything will work out. This fun home activity will become your hobby, help pass the evenings, and grow foods you will be proud of.


