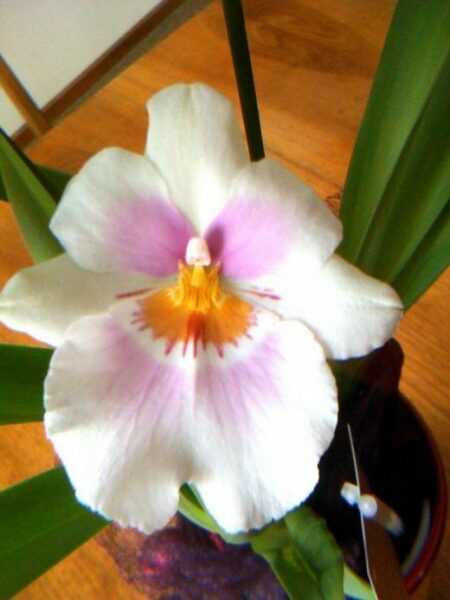
Hello dear gardeners, gardeners and flower growers! Today we will talk about hippeastrum.
Nikolay Fursov, Candidate of Agricultural Sciences
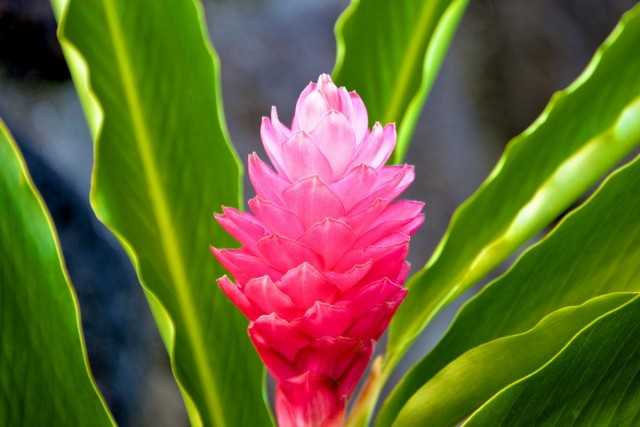
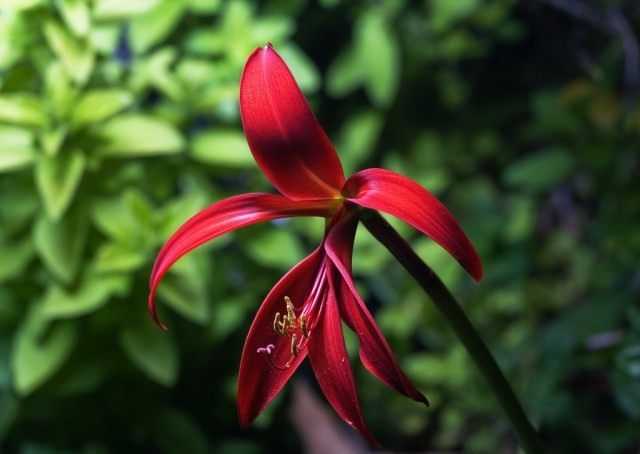
Hippeastrum is a huge family, huge, somewhere around 80 species are included in its composition. There is a huge number of not only species, but also varieties, of course, because there are only so many for the coloring of flowers. And burgundy, and red, and orange, and scarlet, and white, and pink, crimson, and striped, almost checkered.
You bought such a plant, for example, not in a separate package, but already planted. They brought home and found the following situation, which happens very often. Look, you started to install a flower or wanted to transfer it to another container, but found that it had no root system. This plant, you see, huh?
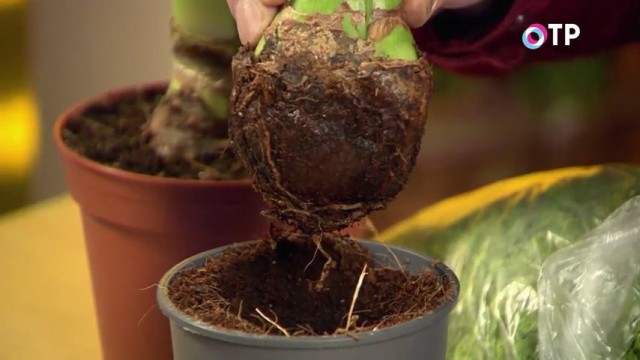
They just poured it over. In stores, this plant is poured, which in no case should be done. How can this plant be helped? Well, first of all, we must, must definitely remove these covering scales, which, you see, yes, they even rotted, just rotted. Therefore, they should be carefully removed until they have good scales. See, yes? Good scales have already appeared. In this way, prepare for planting.
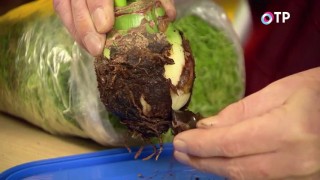
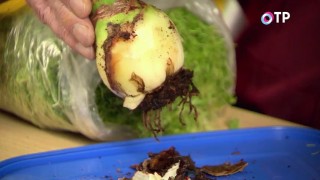
Let it dry a little after we look at the bottom and decide what happens to the bottom. Well, the bottom, in my opinion, has not completely rotted away, which means it may still be able to give new roots. So, we are cleaning these old roots with you. By the way, on those bulbs that are sold in stores in a dry state, we must also do this – remove all old roots. You see, the tissues here are good, healthy, strong, light-colored. So it’s okay, the roots will go. So far, the peduncle will feed on the juices of the bulb itself. Until it comes to flowering, roots are also formed.
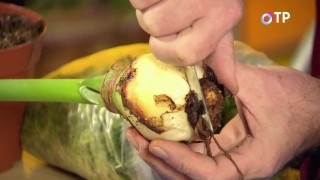
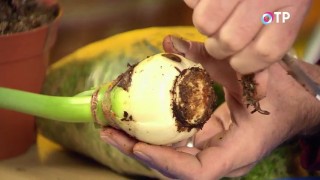
Thus, the bulb will begin to develop properly in the future. So, here we are with you peeled the onion. Now let’s take the pot. Well, in general, in principle, in such a pot contains a gorgeous flower that will delight you for a month with its flowering, well, it’s just a sin. Therefore, even buying such a plant, transfer it into a larger pot, a little more. So, let’s take a pot of this size.
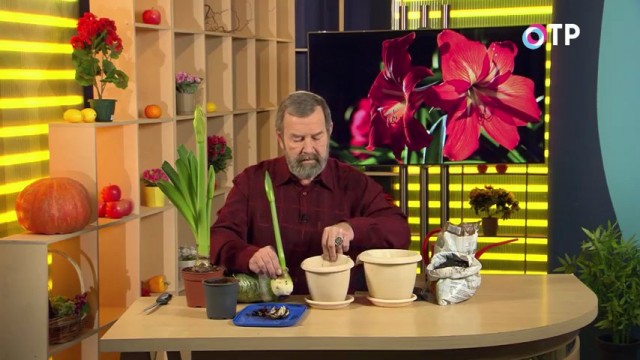
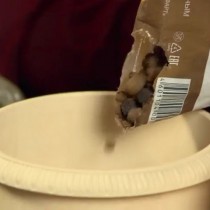
It is imperative, imperative, like all bulbs, to be poured here … Bulbs do not like waterlogging of the soil, so we must pour drainage material on the bottom of the pot. Well, let’s say let’s take expanded clay. About 3cm of expanded clay is enough. Further, in order for expanded clay to play its role, we must separate it from the ground. Take at least just such a napkin made of non-woven material and put it down. Or a little more could be taken and put on the drainage layer.
Then we put in some soil, fertile, breathable – this is, you see, what a good soil. It is not necessary to be too oily, in any case. Now soils are sold differently. Including, even special soils for hippeastrum and amaryllis, tk. they are close relatives. If the hippeastrum originates from South America and Central America, then the Amaryllis are aliens from South Africa. The difference in external features is small, but temperature is treated differently. This means that we poured the soil.
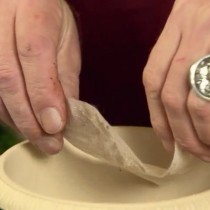
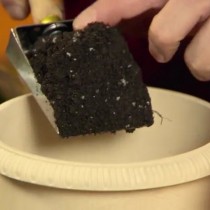
Trying on the onion, how it will look with us. We need to sprinkle the onion with this new soil about half its height, half the height. We try it on, add a little more soil and, in principle, we can plant it. But insofar as she was injured, we will definitely treat her with a root former. You can just sprinkle like this. Sprinkle on the bottom like this. Like this. This could have been done before, before we tried it on.
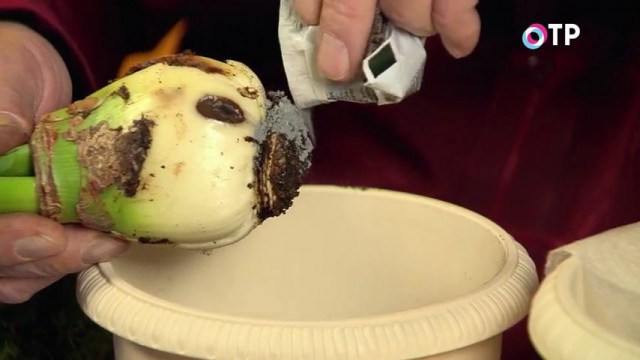
We’ll put it in the center. According to the rules, there should be a distance of about 2 fingers between the center of the pot and the bulb. Here, look, see? That’s the way it is. This is the ideal pot arrangement. Both food and air will be enough for him.
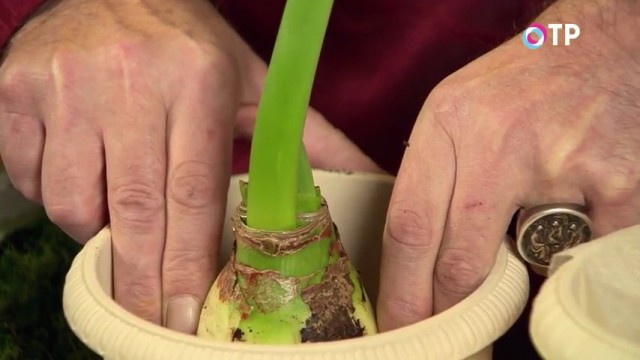
And now you just need to sprinkle it neatly, like this. The land should be loose, contain a lot of sand. You see, there is a perlite in this soil here. It does not accumulate much moisture, but it also allows air to pass through well, and even gets rid of excess moisture. This is how we poured the soil. Now it has been properly compacted, properly compacted. The bulb was also pressed into it properly so that the soil contact with the bottom. Well, that’s all, perhaps. Here it remains only to sprinkle a handful of soil. Like this. That’s it, the onion is planted.
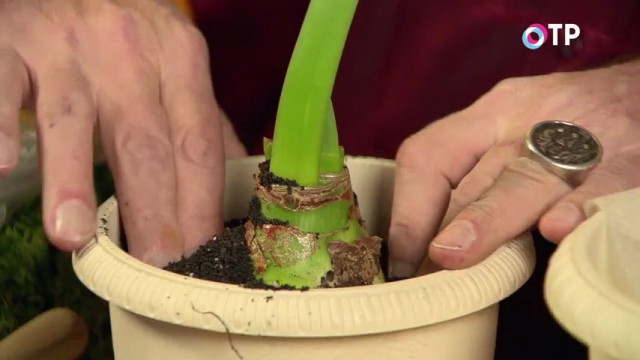
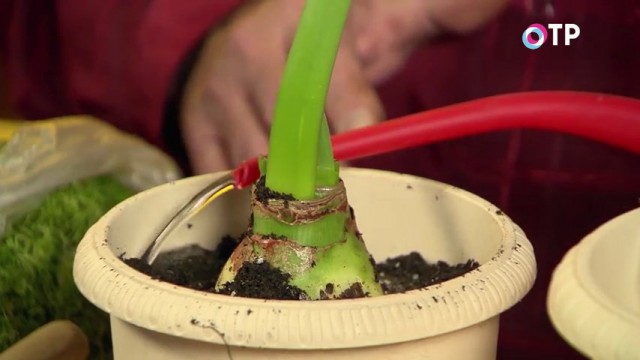
Now we just have to water it. We water it very carefully, preferably like this, pour water along the wall, not on the onion itself. Like this.
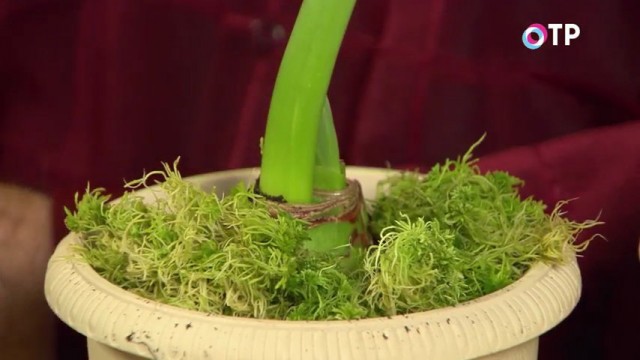
After a lot of watering, after removing the water from the sump, you can cover the surface of the soil to make it beautiful. You can use some decorative stones, you can use shells. For example, I like to use sphagnum moss. See how beautiful it is. Once again, you will not need to make any watering, because the moss retains moisture. And look, just extraordinary beauty.
Dear ones, grow these flowers at home and, I think, they will decorate it for many, many decades.
Nikolay Fursov. PhD in Agricultural Sciences
