Not all beekeepers know what cores are for bees. But it is desirable to have this small structure in the apiary. This is a small hive with no more than two frames and is intended for the wintering of a small family, brood brood.
What is a Nucleus
Many beekeepers are familiar with such a situation when not only worker bees, but also queens die during the wintering period. In order to preserve the brood, a nucleus is needed. Moreover, a properly assembled mini-hive will help to reduce the waste that occurs in the early winter and associated with an increase in the number of working families in the apiary.
Evidence construction

Such mini hives or nucleus in beekeeping are used more often to preserve weak colonies and young, newly born bees. It is important that with the arrival of spring you do not have to look for new queens, losing the unique opportunity of the first bribe. Therefore, such small hives are an ideal solution for the active development of a young family.
Experienced beekeepers have in their arsenal many ideas on how to create cores for bees with their own hands and use them to populate a young family, and in the spring to get strong working bees and an optimal brood. To create such a small hive, you can use an old one, but it is not entirely profitable.
Therefore, it is better to create new housing from the material at hand. This does not mean that everything that turned out to be unnecessary will go to ho. Loose building material of poor quality bees will simply gnaw and get out. Therefore, it is beneficial to use:
- quality plywood sheets;
- planed boards;
- chipboard sheets;
- polystyrene or expanded polystyrene as insulation;
- frames, no more than 2 pieces for brood and 2 for feed, one frame is possible.
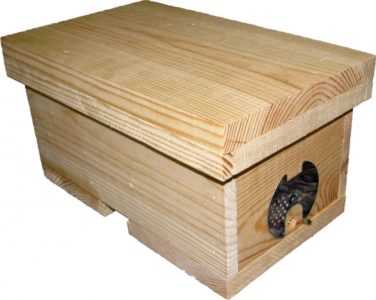
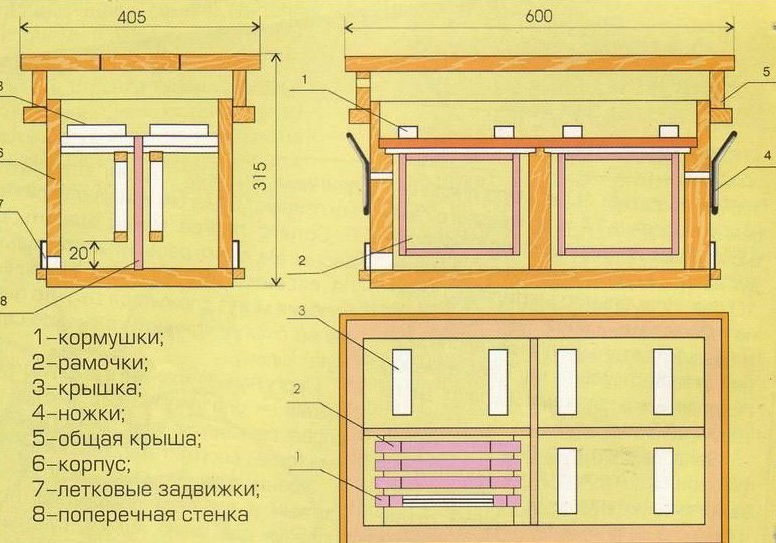
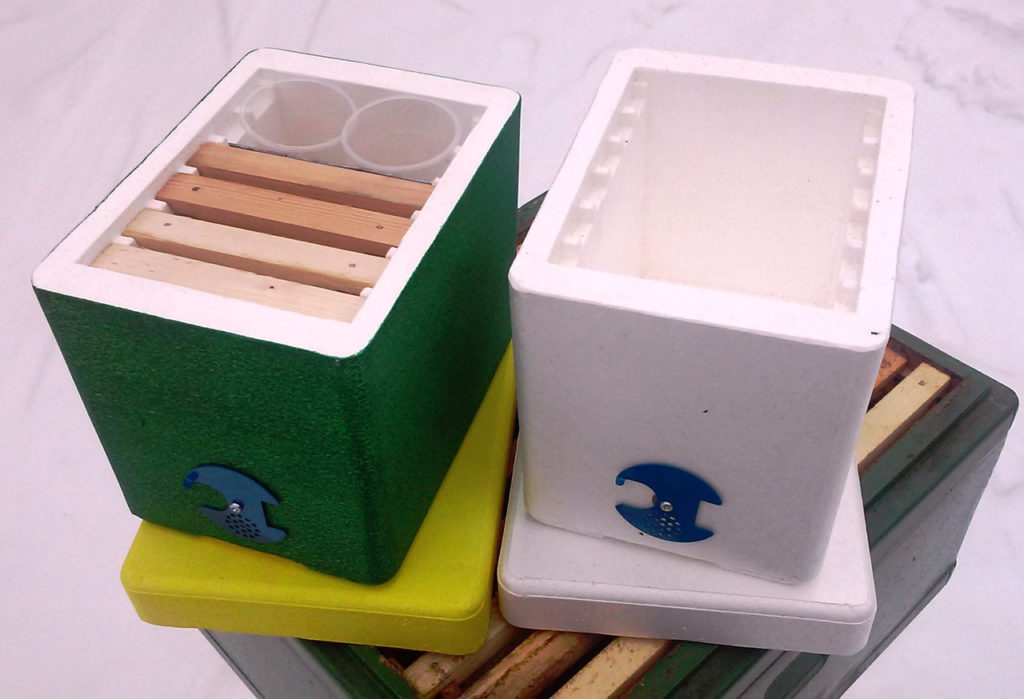
The house is assembled in any way that seems convenient. The end result looks like a small square or rectangular hive. For example, the parameters 405×600 mm are a classic version that looks approximately the same as in the photo.


A beekeeper who does not have carpentry experience will be able to collect it. You can use the suggested drawing or create your own project.

For the construction of the core, you will need strong, planed boards. The bees are simply gnawing loose material.
- From the prepared boards, using the drawing parameters, assemble the body.
- Place a sheet of plywood of the appropriate size at the bottom of the box.
- Create a tap hole (up to 15 mm.), Ventilation hole.
- Make legs and fix the structure on them.
The diagram below shows how to place the frames in a new home.
Advantages

As a result of step-by-step actions, the beekeeper manages to assemble a new simple house and prepare temporary housing for a young family. Not so long ago, beekeepers used familiar hives for brood families, simply dividing them into sections. Today, many have abandoned this, appreciating the advantages of the core:
- high survival rate of queen bees during wintering, due to effective heat preservation;
- the bee in such conditions is highly productive;
- a small hive has a ventilation system, which reduces the risk of infection of young animals;
- cores are advantageous to use for catching swarms or layering.
Wintering
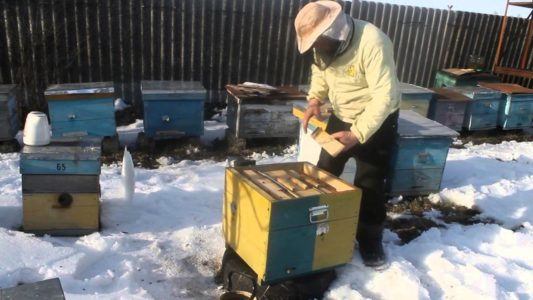

Wintering of a colony is a difficult period, during which a certain number of worker bees and queens die. It is not always possible to replace the deceased, this is directly responsible for the amount of the first bribe. Therefore, beekeepers prefer to relocate spare queens for the winter to cores. This is beneficial, since about two hundred worker bees are needed to service one queen.
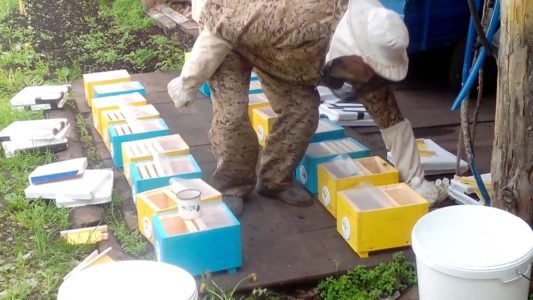
You can place such mini hives directly in stationary ones or put them separately. Moreover, it is much easier to make a core from expanded polystyrene than from other materials.
Styrofoam core: advantages, disadvantages

Recently, apiary owners have been making small beehives from expanded polystyrene. But the main disadvantage of such cores is that it is unsafe to keep the uterus in them for too long. It is advisable to return to the large hive immediately after fertilization. The frame in the nucleus is small, so it is sown quickly, then the uterus remains without work. This can provoke an unpleasant situation, and the bee will fly away.
It is not difficult to make a mini polystyrene beehive. Moreover, packing material from household appliances is suitable. Lightweight, durable, perfect for keeping warm. This creates exceptional wintering conditions without requiring additional insulation. Other advantages are worth highlighting:
- does not deform;
- not subject to decay;
- counteracts moisture penetration;
- lightweight, weightless;
- structural strength.
Sometimes bees begin to gnaw at the walls of a temporary dwelling. This is another of the shortcomings that forces them to be removed from the cores in a timely manner.
Manufacture by own hands

Despite the simplicity of the work, it must be started after preliminary preparation:
- prepare a drawing;
- purchase polystyrene foam sheets;
- prepare the tool.
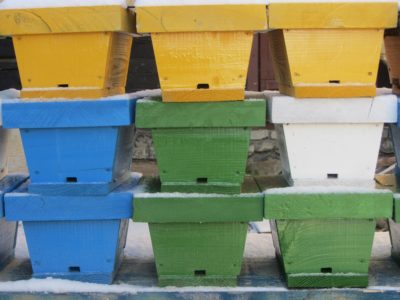
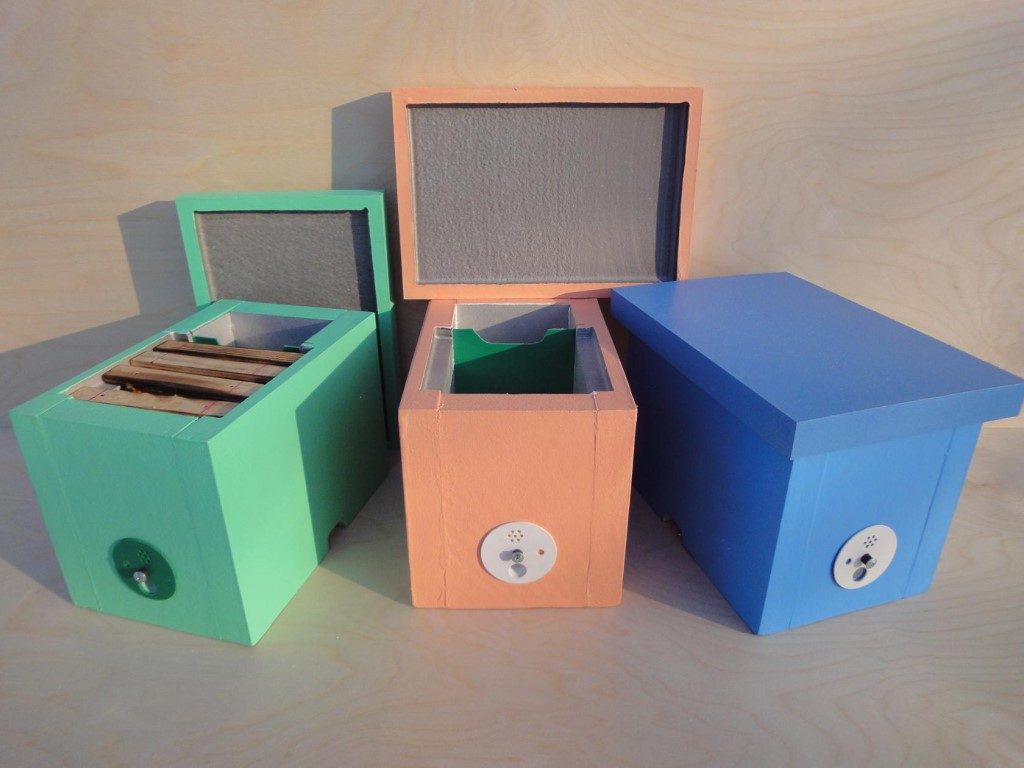
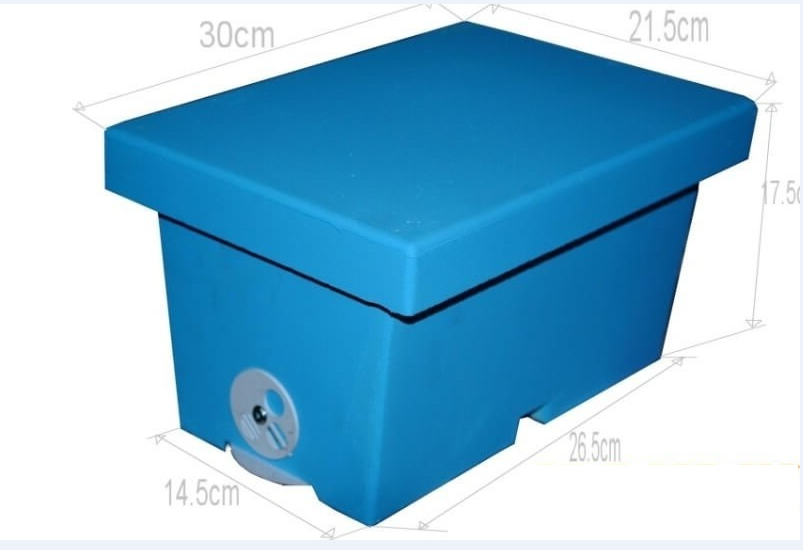
The design will turn out to be miniature, for ease of use, provide for carrying handles. The result is a cute mini hive that can be easily moved from one place to another. Dimensions, shapes are as shown in the picture.

Such a hive is divided by partitions, highlighting several full-fledged compartments.
Tools and materials
To make a core, you need to prepare tools:
- expanded polystyrene sheets;
- knife, clerical will do;
- screwdriver;
- self-tapping screws;
- ruler;
- glue.
But all this will be needed only after the drawings are prepared.
Blueprints
To make cores for bees with your own hands, you need to choose a ready-made drawing or draw it yourself. You can take the proposed option as a basis.
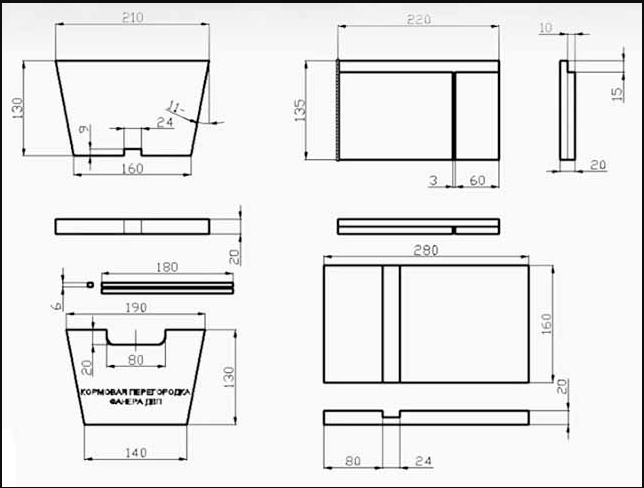

Such a mini hive is designed for one or more queens. The production process is simple, it consists of several stages.
design Features

The proposed technology should be adhered to in order to make the hive comfortable for the uterus and small family.
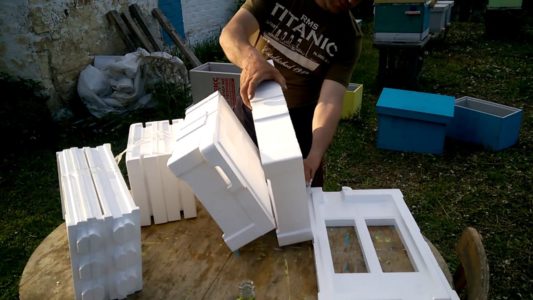
- Apply markings on the sheets in accordance with the drawing.
- Cut out all the details with a knife.
- Grease the ends with glue.
- Press the parts down and hold until they are fully seated.
- Make a hole for the entrance.
It is not necessary to adhere to the specified parameters. It doesn’t matter. Especially if you plan to place several queens. But the drawing shows the standard dimensions. After the base is firmly connected enough, proceed with further manufacturing.
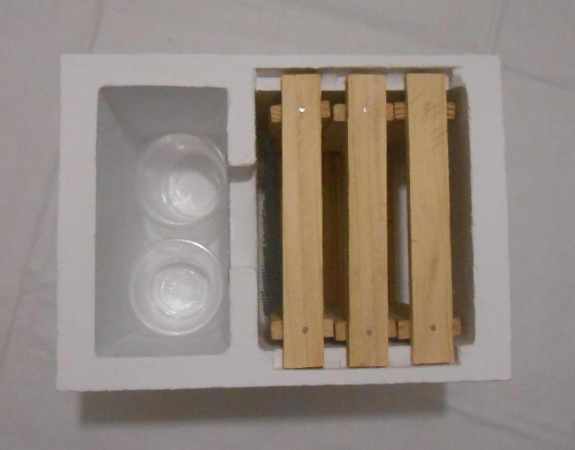
It is necessary to fix the bottom, the slats for the partitions. Maintain a small, but equal distance between them. Make a cover, the top of which is upholstered with a solid sheet of galvanized metal. Make holes for tap holes, set frames and small families can be formed.
Correctness of formation
Moving into a new house takes place slowly, following the sequence:
- install a container with feed (syrup) in the stern compartment;
- the newly born queens are taken from the stationary hive;
- close the entrance, leaving the ventilation compartments;
- chicken out of the frame from the main hive;
- moisten insects a little;
- collect a small number of bees in a glass, move to a new house;
- moisten the uterus, move it to a new small hive.
Important!
The worker bees and the queen should have been in the same hive before the relocation.
It is better to put the queen in the hive a little later, so that the worker bees have time to get used to it, but they were able to understand that they are still orphans. The same time is needed for the old worker to weave to leave the core and return to the old hive. Only the young will remain in the new little one. If all the bees are colonized, without preliminary sorting, then there is no need to withstand the time. The queen bee is colonized first, and all the bees will remain there.
It is easy to understand that the creation of a nucleus, its settlement is not a troublesome, simple procedure. The main thing is that the resettlement is done in the reverse order on time.


, Calories, benefits and harms, Useful properties")


