Pure wax and foundation are second in value after honey, useful substances that bees produce. People use them in more than 50 different fields (food, medicine, cosmetology, electrical engineering, metallurgy, etc.). On the farm for the beekeeper, the wax unit is an additional means of making a profit. A wax melter can be purchased, but it’s easier to do it yourself from outdated household items (pans, pressure cookers, pots and even refrigerators).
What’s this
Beekeepers use a wax furnace for maximum melting of raw materials from honeycombs (frames), due to high temperatures (140 – 150 ° С), which exceeds the melting point of the wax product (55 – 60 ° С). The operating mode of the wax melter does not allow the wax to overheat to the extent of its decomposition.
The process consists of several stages:
- The honeycomb is soaked and then placed in an aggregate.
- The wax melter is heated to the melting point.
- The melted substance flows into a collection container and then is packaged.
Compliance with the working degrees allows the wax to get rid of moisture and acquire water-repellent properties, so that in the future the material can be used, for example, in mastic for rubbing floors, and serve as a lubricant for sensitive electrical devices.
The principle of operation of the wax melter
The fundamentals of the technology of devices of any type are based on the release of vapor from a liquid on a heating device, according to the principle of a pressure cooker: water is poured into the lower pan, which, from heating, melts the substance in the upper compartment (grate). The viscous mixture enters the pallet. In a semi-liquid state, it is molded according to the specified dimensions and allowed to solidify.
If it is a private production, the drying time depends on the type of honey. Typically, the time frame is two to three weeks. Branded manufacturers write on the packaging the setting time from 3 to 6 hours. For quick mass formation, unscrupulous industrialists add thickeners.
Do-it-yourself knowledge of the wax production technology will save the consumer from counterfeiting.
Types of devices
The principles of operating a wax melter, especially if it is made according to a drawing with your own hands, differs in nuances in operation.
Solar
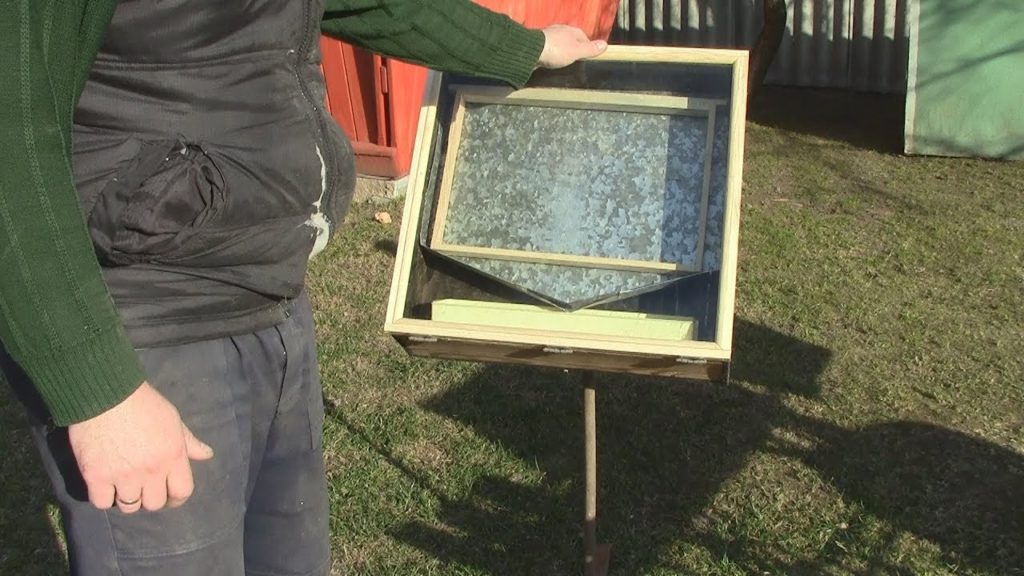
The name of the wax digger suggests the use of the sun’s rays as a catalyst. The inconvenience of such a model lies in the dependence of climatic conditions, but the output is the highest quality product in a natural way, without the need for heating with electric energy and gas. The disadvantage of using a do-it-yourself wax melter is that it cannot be used around the clock and there is no way to regulate the heating temperature.
Beekeepers share their skills on how to make a solar wax-pot with their own hands on websites dedicated to beekeeping. In addition to verbal recommendations, drawings for various types of homemade design work are attached.
The machine is easy to operate and requires minimal ingredients:
- Wooden box;
- frame for glass;
- glass, preferably double, which should be turned to the south;
- final product tank.
To make a wooden structure with your own hands, you will need grooved boards (width 12 – 15 cm), plywood (33 × 52 cm), slats, nails, a hammer, a saw, a tank and a baking sheet for raw materials.
A drawing of the device is necessary for the purchase or manufacture of fittings, a tray for a product, in order to calculate the dimensions of a wooden case.
The metal parts are made of tinplate or tinned steel, which does not oxidize the product at the “outlet”. It is better to have the raw materials in one layer, and place the installation on a hill in order to improve the quality of the bee product. To clean the pallet from debris, it is slightly warmed up. This can be done in the oven.
The simplest design with your own hands will facilitate the work of the beekeeper.
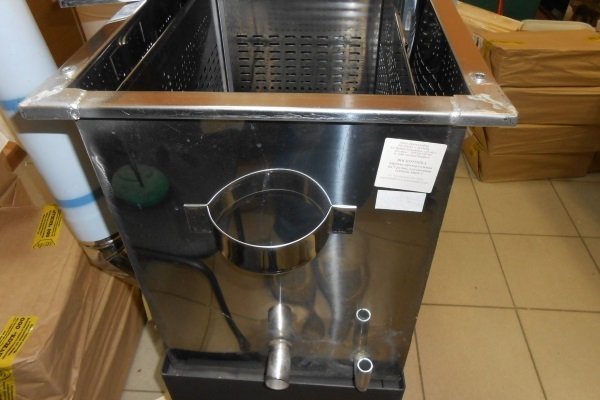
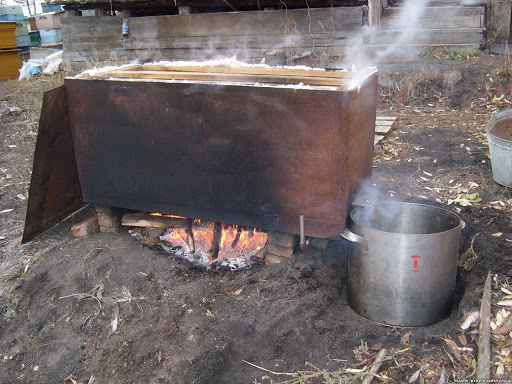
Steam
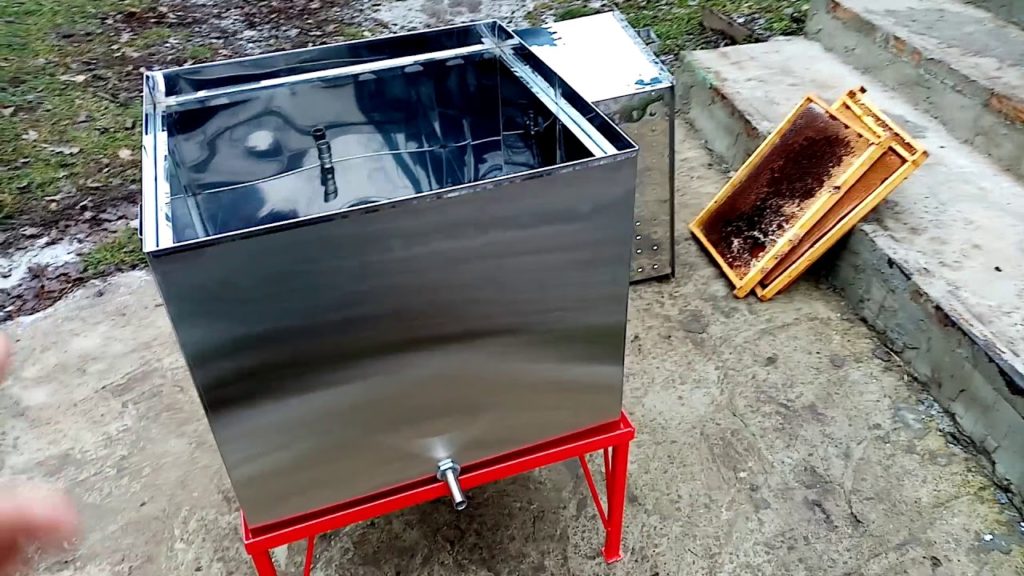
The design principle is based on the connection of the tank using a tube or hose, mounted to a frame made of a timber box. The lower part contains a metal net through which the wax escapes. The honeycomb frames are hung on a hanger. Steam containers should have a volume of 40 – 50 liters. The water content is 20 – 25 liters. This volume is sufficient for steam production. The stainless steel steam wax melter is capacious and melts a large amount of wax product.
For a high-temperature appliance, a regular pressure cooker is suitable.
The model can be improved with the help of a faucet, from which a viscous liquid will flow after reflowing.
The advantages of the procedure are the minimum time spent on processing the bee product, the absence of wax emulsion and additional ingredients (merva). The more frames are placed in the structure, the more evenly the steam will be distributed. The main thing is to observe the process. The device is flammable.
On the Internet there are drawings of structures and video master classes from “meadovars”
Framework
It is easy to make a frame version of the wax melter with your own hands. Ease of installation does not require specific knowledge. Practical beekeeping, according to experts, recommends building a unit with a steam generator and an internal cassette. The device must be equipped with thermal insulation (it can be wrapped with foil-insol with adhesive tape).
To improve the overheating of the notch, the design can be improved with a double body, when one tank is placed in the second and soldered. The frames with the raw material will be located in the inner cylinder, the distance between which is filled with water.
At the forum, beekeepers who are faced with the difficulties of melting wax when buying factory structures are advised to improve the centrifuge by reverse (changing the flow for hydraulic fluid) to redistribute raw materials.
The steam system is considered effective, since heating with steam allows you to penetrate into the smallest pores of the raw material and to melt the wax as much as possible.
When manufacturing the system, the branch pipe must have a large diameter (15 – 20 mm). This will save you from cleaning the channel during heating.
Frame dryers can be reheated using both cylindrical and steam wax melters.
The design principle is based on the connection of the tank using a tube or hose, mounted to a frame made of a timber box. The lower part contains a metal net through which the wax escapes. The honeycomb frames are hung on a hanger. Steam containers should have a volume of 40 – 50 liters. The water content is 20 – 25 liters. This volume is sufficient for steam production. The stainless steel steam wax melter is capacious and melts a large amount of wax product.
For a high-temperature appliance, a regular pressure cooker is suitable. The model can be improved with the help of a faucet, from which a viscous liquid will flow after reflowing.
The advantages of the procedure are the minimum time spent on processing the bee product, the absence of wax emulsion and additional ingredients (merva). The more frames are placed in the structure, the more evenly the steam will be distributed. The main thing is to observe the process. The device is flammable.
Drawings of structures from “meadovars” are presented on the Internet.
Electrical
The electric wax melter is ergonomic to use on an industrial scale. The design principle is identical to solar, but requires electricity to work. The advantages of the device include additional disinfection of the notch due to the high heating temperature of the device. But this requires large electrical costs.
Centrifugal
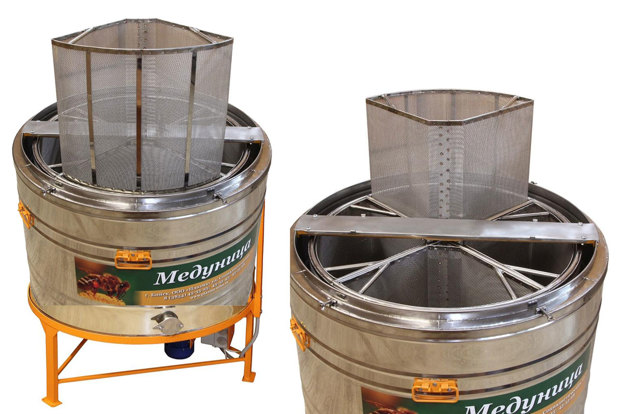
This type of construction allows the extraction of wax using a centrifuge equipped with a steam generator. Frames with honeycombs are wrapped in polyethylene and evenly placed on the inner surface of the tank.
How to make a wax melter at home
Making a wax melter with your own hands at home is quite simple. Every household probably has old household appliances and utensils that can be given a “second life”.
From the washing machine
The steam unit can be made from a washing machine. The main part consists of a drum tank and a cuff from the hatch. You will also need: a pipe and a hose for draining water, a stainless container (20 – 25 liters), a basin, sealant and plugs. Frames for honeycombs are fixed with hooks on the sides of the container.
The drawing of the model can be easily found on the Internet.
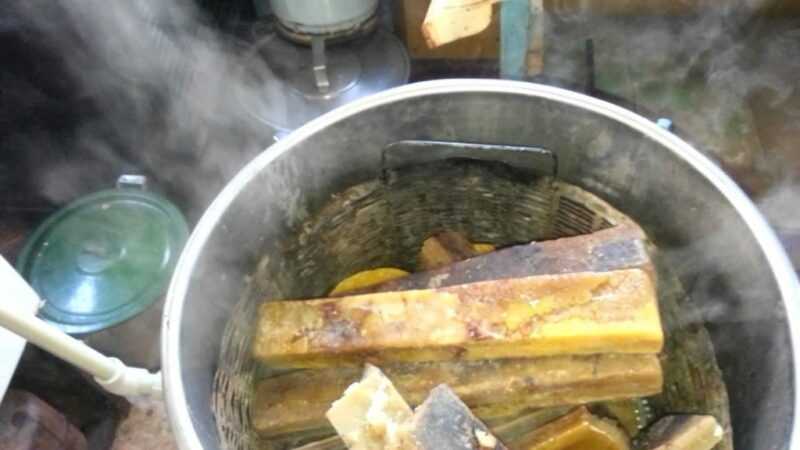
From a juicer or saucepan
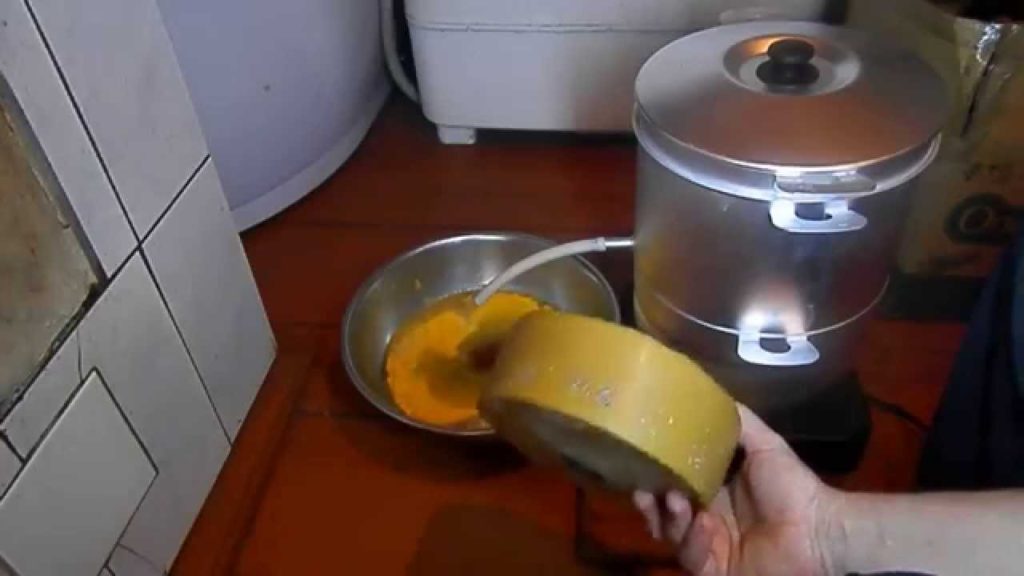
To obtain valuable wax, you can use old dishes. For example, a stainless steel or aluminum juicer with a volume of 6 – 8 liters. It has three parts. When water is heated in the lower pan, steam is generated in the middle part, which melts the raw materials in the upper compartment. The melted product enters the middle sector, and from there flows out into the prepared container through the tap.
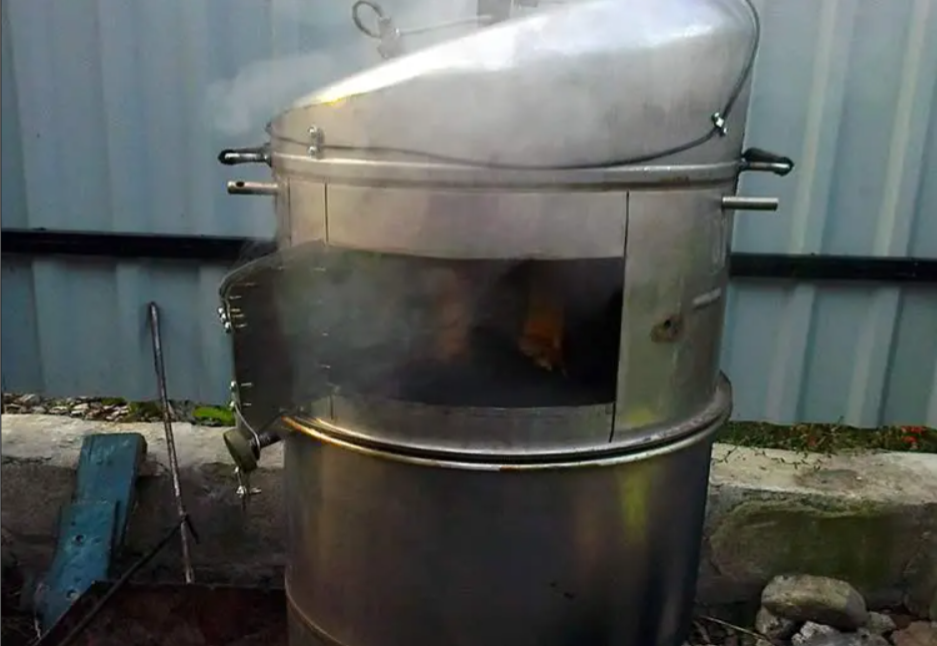
From the fridge
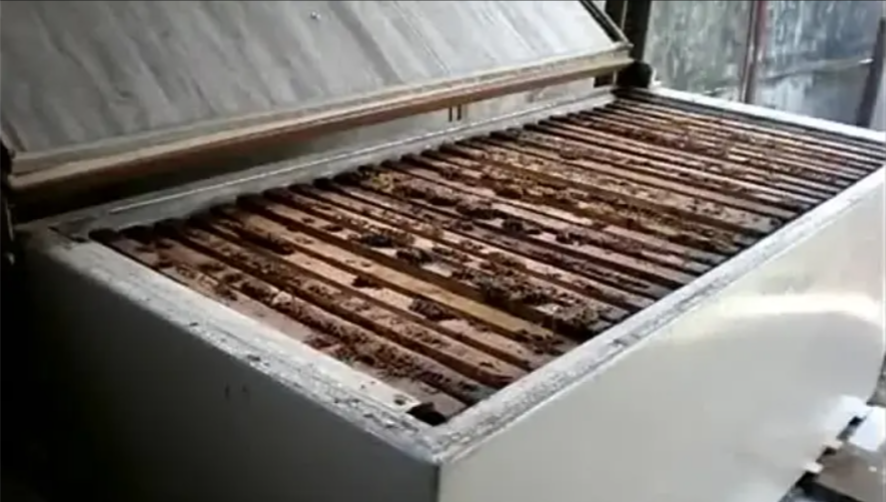
It is beneficial for the owners of a large bee farm to have a large unit. An old refrigerator can serve as a wax melter. Depending on the dimensions, the unit can be loaded with honeycombs together with frames (20 – 30 pieces).
The interior of the refrigerator should be made of aluminum or iron to prevent steam from damaging the surface.
To work, you will need an empty frame of household appliances, wire nets, hoses, a container for supplying hot air, a set of tools and a checked drawing.
From the frying pan
Perhaps the simplest apparatus for obtaining a bee product can be made with your own hands from an ordinary cast-iron pan. To do this, a hole for the hoses is drilled in the center of the dish and in the container. A fine mesh is welded inside the bottom, after covering the surface with foil.
Heat the structure in the sun.
Advantages and disadvantages
Today, according to beekeepers, a hand-made wax refinery satisfies most of the needs in beekeeping. Steam heating is the most beneficial among the existing methods.
- High percentage of valuable product “at the exit”;
- the quality of the wax is better (there is no direct contact with the liquid);
- ergonomic models save space. Carving can be done in small spaces.
The disadvantages of steam modifications include:
- High energy consumption if the steam generator is operated from the electrical network.
- Overheating of the wax if the temperature is not adjusted.
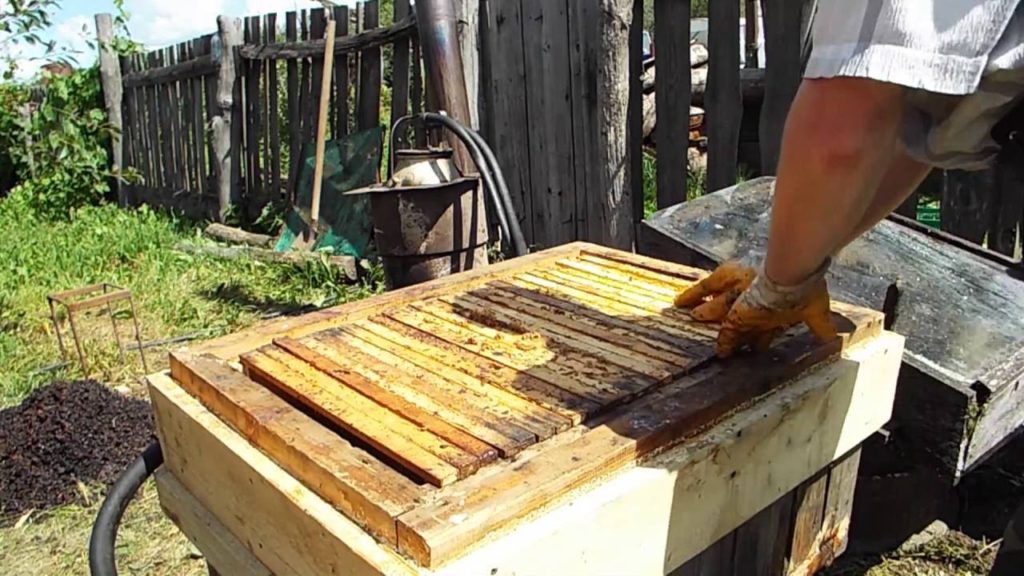
Are there ways to melt wax without a wax melter
If the apiary is small or the beekeeper has just started breeding insects, then there are several ways to process raw materials without a wax refinery.
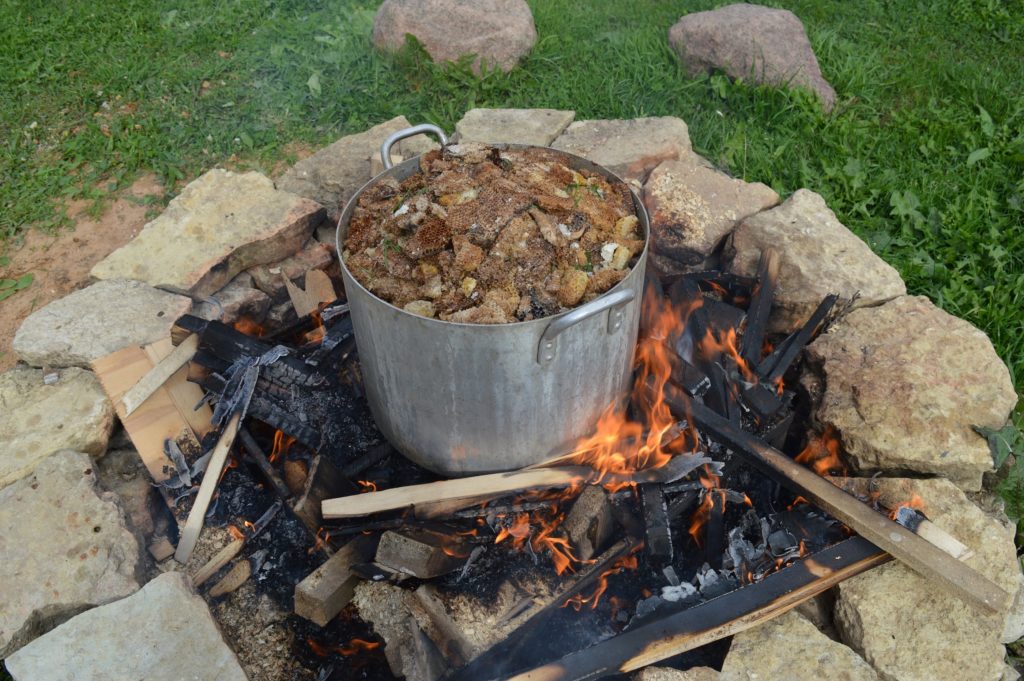
For example, process the contents of old frames (foundation, beading) into fine pollen using a mixer. Then soak the mass for 3 – 4 hours in a container with water for cleaning (the debris will float to the surface of the container). After that, the dishes are filled with warm water and left to soak for 2 – 3 days.
Put the soaked mixture on fire and bring the water to a boil. Then the power of the flame is reduced so that the bee product begins to heat up (1.5 – 2 hours). Then the liquid is poured into another container and allowed to solidify.
A small amount of raw materials can be processed in a jar, which must be placed in a pot of water and boiled.
On the vastness of the “world wide web” you can find out other options for making a quality product. On the forums, beekeepers share useful tips related to beekeeping.


